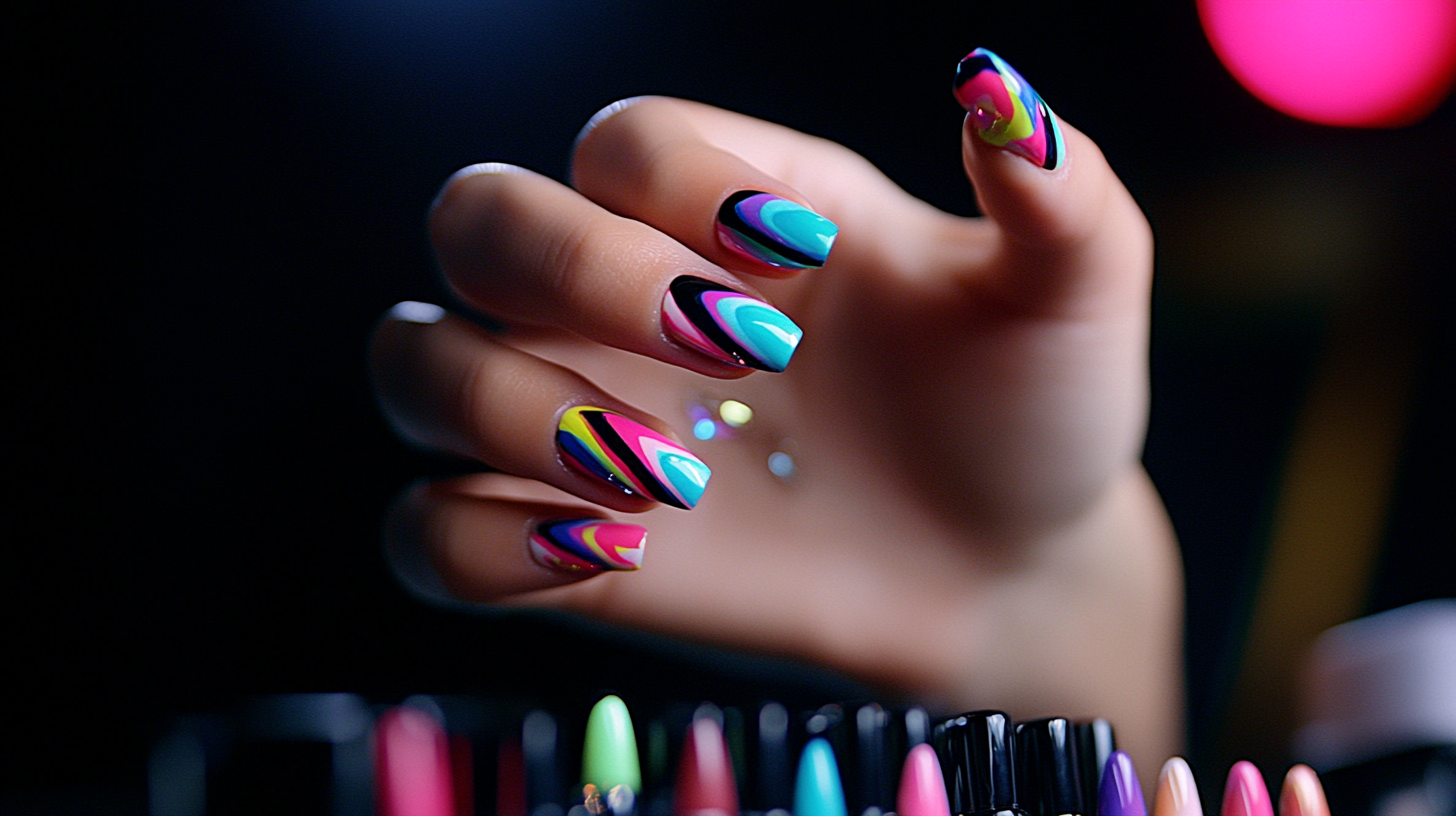
Mastering the Art of Shine: A Comprehensive Tutorial on Using the Best Nail Art Top Coat
In recent years, the demand for nail art products has witnessed a significant surge, with the global nail care market expected to reach approximately $13.3 billion by 2026, according to a report by Grand View Research. Central to this booming industry is the Nail Art Top Coat, an essential product that not only enhances the aesthetic appeal of nail designs but also extends their durability. Data indicates that nearly 60% of consumers consider the longevity of their nail art a critical factor in their purchasing decisions. This emphasizes the importance of mastering the application of top coats, as they serve as a protective layer that can prevent chipping and fading. As we delve into the art of shine and the use of top coats, we will explore practical techniques, tips, and product recommendations that cater to both professional nail technicians and DIY enthusiasts alike.
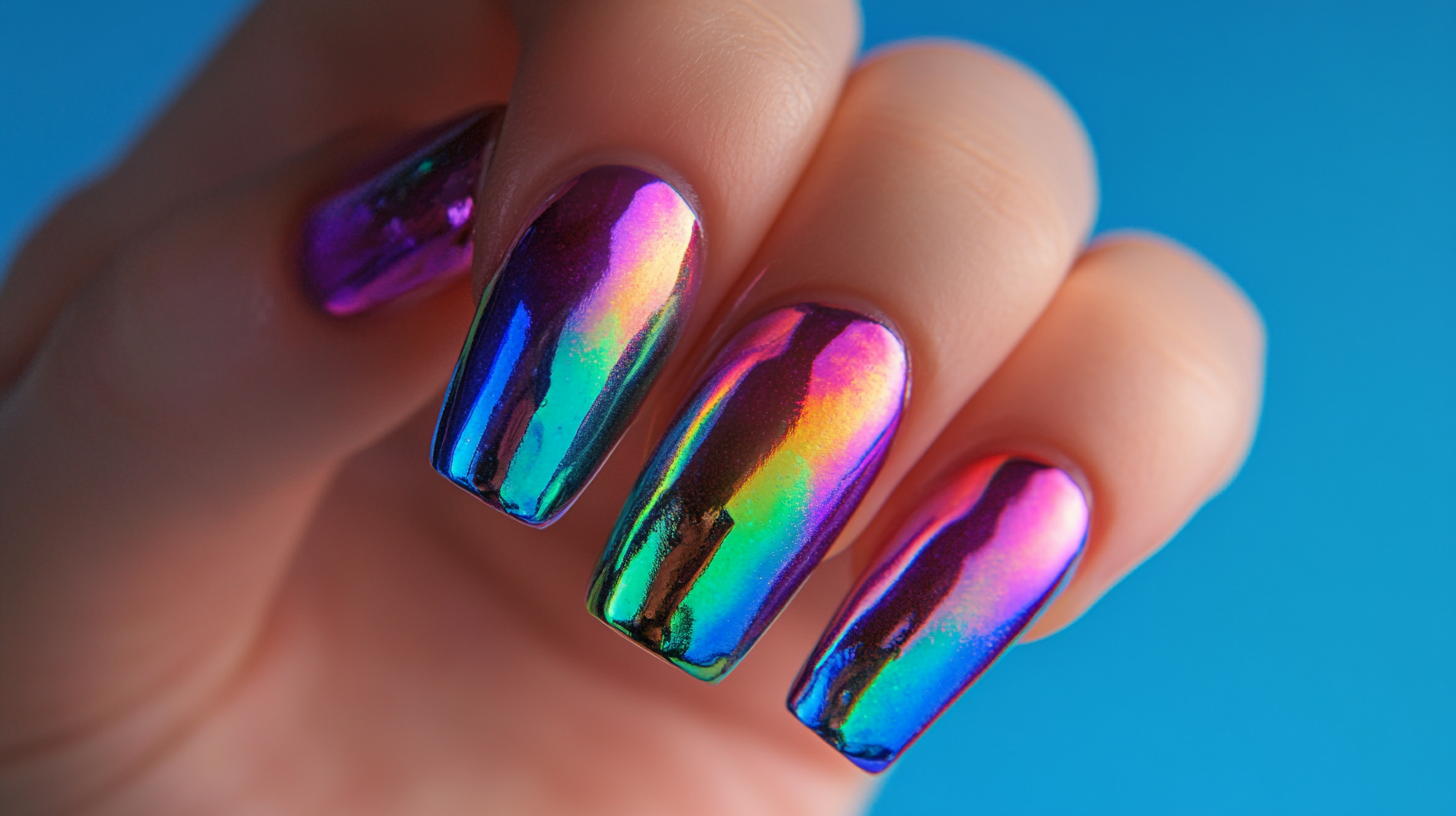
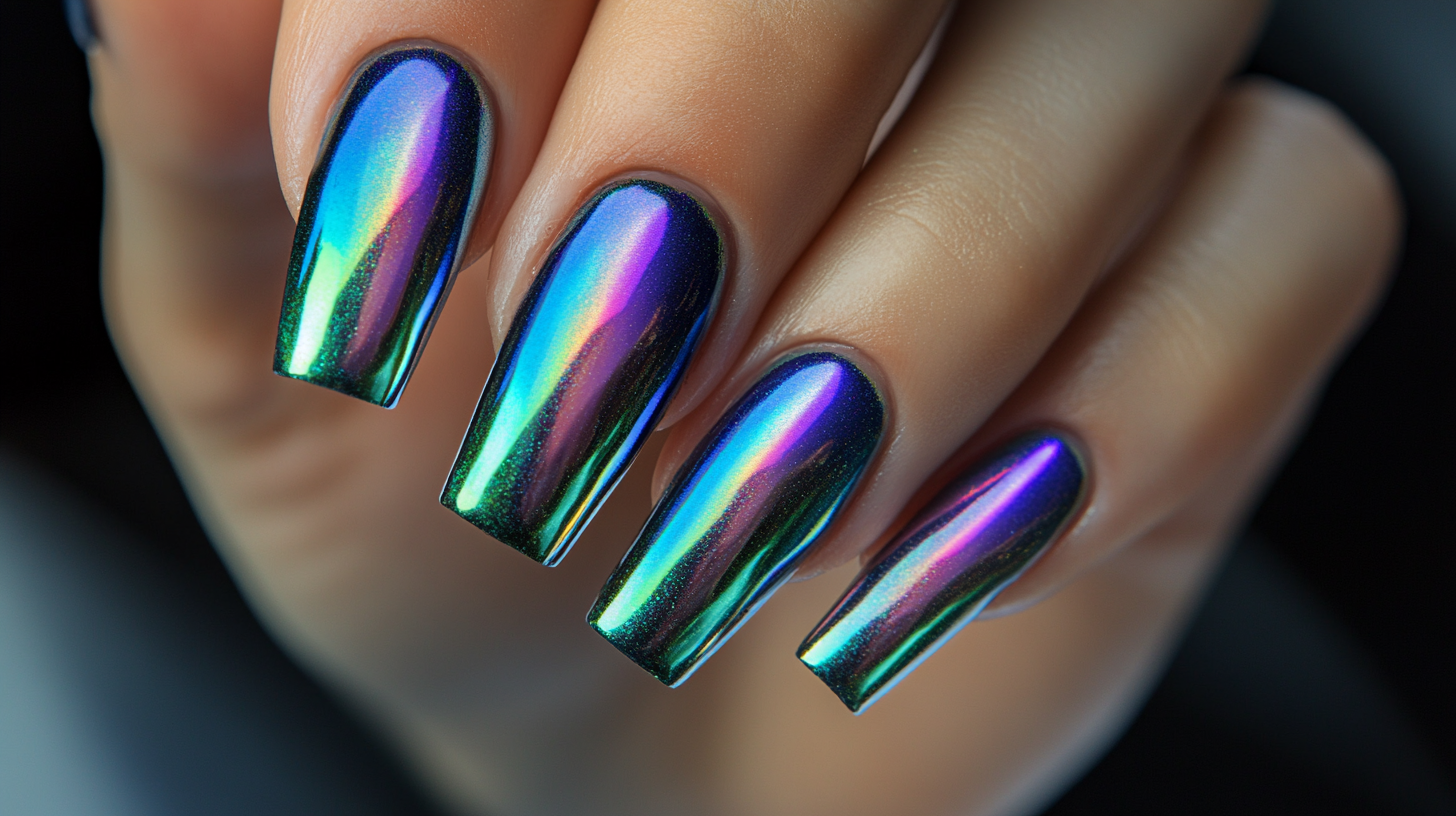
Choosing the Right Nail Art Top Coat for a Stunning Finish
Choosing the right nail art top coat is crucial to achieving a stunning finish. A good top coat not only enhances the appearance of your nail art but also provides durability and protection. When selecting a top coat, consider the formula that best meets your needs. For instance, if you frequently find yourself with chipped nails, opt for a gel-based top coat that offers a long-lasting shine and resilience against wear and tear.
Tips: Always ensure your nail art is completely dry before applying the top coat. This prevents smudging and ensures a smooth application. Additionally, look for top coats with quick-dry formulas to save time without compromising on quality. Some top coats are designed to give a matte finish, while others provide a high-gloss shine, so choose one that complements your nail design perfectly.
Another important aspect to consider is the finish you desire. A glossy top coat enhances color vibrancy and gives a professional look, while a matte top coat adds an edgy, modern twist. Experimenting with different finishes can elevate your nail art game significantly. Don't hesitate to layer top coats for added depth and texture, creating unique designs that truly stand out.
Essential Techniques for Applying Top Coat Like a Pro
When it comes to nail art, the top coat is a game changer that can elevate any manicure. According to a report by the Nail Manufacturers Council, about 75% of nail enthusiasts believe that a good top coat is essential for lasting shine and protection. Mastering essential techniques for applying top coat can significantly enhance your overall nail art experience, ensuring a salon-quality finish at home.
One critical technique involves applying the top coat in thin, even layers. Experts recommend this method as it not only promotes quicker drying but also prevents bubbling. According to a survey by the Professional Nail Technicians Association, 67% of nail professionals agree that multiple thin layers are superior to one thick layer, as they enhance durability and prevent chipping. Additionally, capping the edges of your nails when applying the final layer can seal the polish, prolonging the life of your manicure and maintaining that perfect shine.
Another technique to consider is the timing of your top coat application. Research indicates that applying a top coat too early can disturb the underlying polish, causing streaks and an uneven finish. It’s best to wait at least five minutes after your colored polish before adding the top coat, according to findings from the Nail Art Institute. This patience pays off, resulting in a smoother application and a stunning, glossy finish that lasts.
Top Coat Ingredients: What Makes the Best Nail Art Top Coat?
When it comes to achieving the perfect manicure, the right top coat can make all the difference. The best nail art top coats often feature a blend of ingredients designed to enhance shine, durability, and protection. Key components like nitrocellulose and tosylamide-formaldehyde resin create a hard yet flexible layer that resists chipping and peeling, ensuring that your artistic designs last longer. Additionally, ingredients such as UV filters can prevent discoloration and fading caused by sun exposure, keeping your nails looking vibrant.
Another essential element in a top coat is its dry time. Quick-dry formulas are infused with solvents that evaporate rapidly, allowing users to speed up their nail care routine without compromising on quality. Look for top coats containing ethyl acetate or butyl acetate, which can help your manicure set quickly while providing that glossy finish you desire. Furthermore, some advanced formulations incorporate nourishing oils like jojoba or argan oil, adding moisture and preventing brittleness, ultimately keeping your natural nails healthy and strong beneath the stunning designs.
Mastering the Art of Shine: A Comprehensive Tutorial on Using the Best Nail Art Top Coat
| Ingredient |
Purpose |
Benefits |
| Nitrocellulose |
Film-former |
Provides a hard, durable layer on nails |
| Toluene |
Solvent |
Helps in even application and quick drying |
| Dibutyl Phthalate (DBP) |
Plasticizer |
Enhances flexibility and reduces chipping |
| Camphor |
Fragrance and viscosity modifier |
Provides a pleasant scent and smoother application |
| Urethane Acrylate |
UV filter |
Prevents yellowing and maintains shine |
| Silica |
Matting agent |
Enhances durability and provides a smooth finish |
| Vitamin E |
Nutrient |
Conditioning and strengthens nails |
Troubleshooting Common Issues with Nail Art Top Coats
When it comes to achieving a flawless nail art look, using the right top coat is essential. However, even the best products can come with their fair share of challenges. One common issue is bubbling, which can occur when the top coat is applied too thickly or when the humidity levels are high. To avoid this, ensure an even application and consider using a quick-drying top coat that minimizes the risk of bubble formation while sealing your design beautifully.
Another prevalent problem is chipping, which can be frustrating after spending time on intricate nail art. To combat chipping, always make sure your nails are clean and free of oils before application, as this can affect adhesion. Additionally, sealing the edges of your nails with the top coat can provide extra protection. If you find that your top coat dulls over time, opt for a shiny formula or apply a fresh layer of top coat every few days to maintain that glossy finish. With these troubleshooting tips, you can keep your nail art looking pristine and vibrant for longer.
Analysis of Nail Art Top Coat Performance
Maintenance Tips to Keep Your Nail Art Looking Fresh and Glossy
To keep your nail art looking fresh and glossy, maintenance is key. Regular touch-ups can make a significant difference in the longevity of your manicure. After applying a nail art top coat, try to reapply every few days to maintain that just-done look. This not only enhances the shine but also protects the intricate designs beneath. Choose a quick-dry formula so that you won't have to spend too much time adding layers, making it easier to incorporate into your routine.
Avoid exposing your nails to harsh chemicals or prolonged water exposure, as these can dull your nail art and cause premature chipping. When doing chores or washing dishes, consider wearing gloves to protect your manicure. Additionally, keep your nails moisturized by applying cuticle oil regularly, which not only nourishes the nail bed but also helps prevent any breakage or peeling. Lastly, make sure to store your nail products in a cool, dark place to maintain their effectiveness, ensuring that your nail art remains stunning for as long as possible.