Top 10 Liner Gel Polish Tips for Perfect Nail Art Designs
When it comes to creating stunning nail art designs, the tools and products you use play a crucial role in achieving the desired look. One of the most versatile and essential products for nail artists is Liner Gel Polish. This product allows for precise application, intricate detailing, and vibrant colors that elevate your nail art to a professional level. In this article, we will explore the top 10 tips for using Liner Gel Polish effectively, ensuring your designs not only stand out but also last longer.
Whether you are a seasoned nail technician or a passionate DIY enthusiast, mastering the techniques associated with Liner Gel Polish can significantly enhance your creative possibilities. From selecting the right brush to understanding the best application methods, these tips will guide you through the process of perfecting your craft. With the right approach, you can transform basic nail designs into eye-catching works of art that showcase your unique style and flair.
Join us as we dive into these essential tips that will help you unlock the full potential of Liner Gel Polish in your nail art journey.
Essential Tools for Creating Flawless Liner Gel Nail Art
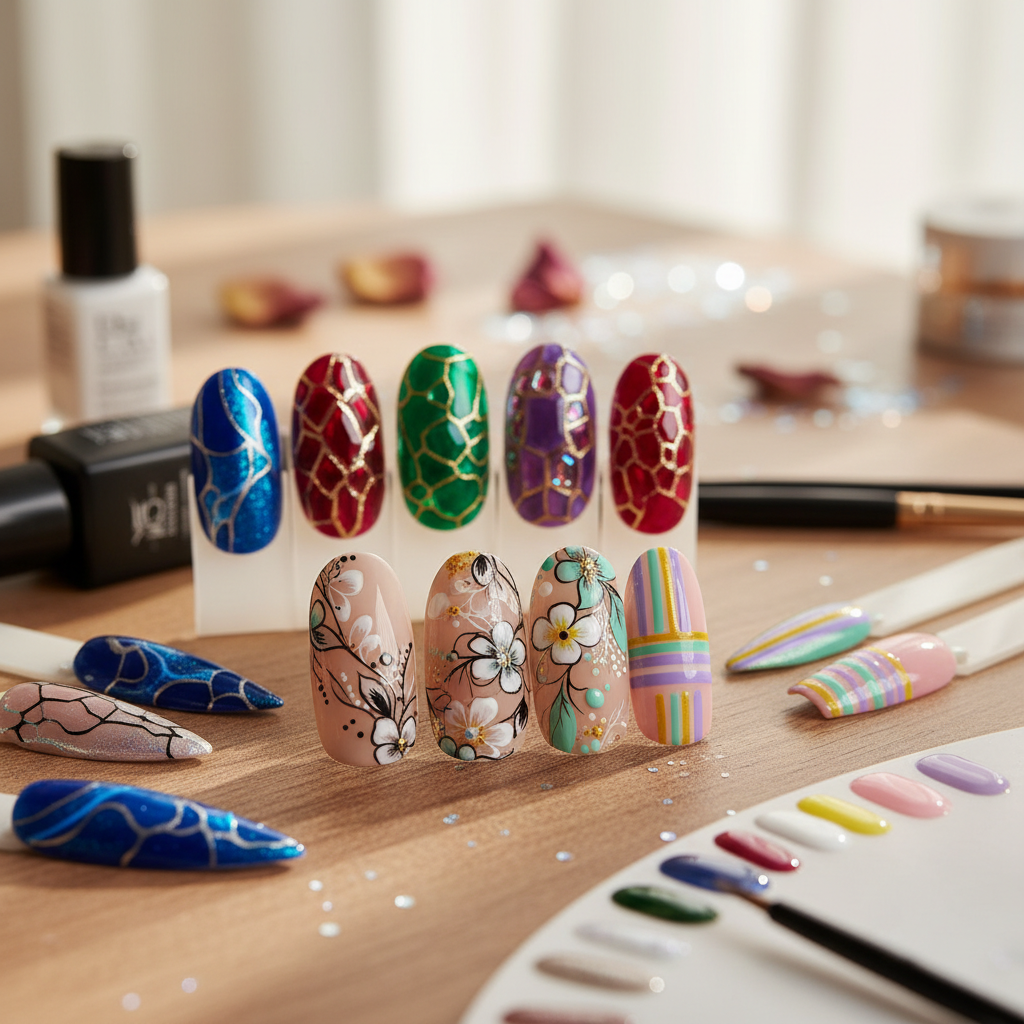
Creating flawless liner gel nail art requires the right tools to achieve precision and creativity. Invest in quality liner brushes, as they come in various shapes and sizes, allowing for intricate designs. A fine, pointed brush is perfect for detailed lines, while a striper brush can help create bold strokes and patterns. Additionally, a dotting tool is essential for adding accents and small details that elevate your nail art.
When preparing your workspace, ensure you have a well-lit area to see the details clearly. Apply a base coat before starting your design; this ensures a smooth surface and enhances the longevity of your nail art. Another important tip is to practice your technique on practice wheels or fake tips before working on your nails. This will boost your confidence and help refine your skills. Always remember to have a top coat on hand to seal your design and add a glossy finish that protects your artwork.
Top 10 Liner Gel Polish Tips for Perfect Nail Art Designs - Essential Tools for Creating Flawless Liner Gel Nail Art
| Tip Number |
Tip |
Essential Tool |
Description |
| 1 |
Use a Base Coat |
Base Coat |
Provides a smooth foundation for the gel polish. |
| 2 |
Choose the Right Brush |
Liner Brush |
Precision brush for detailed designs and lines. |
| 3 |
Practice Nail Art Techniques |
Nail Art Practice Mat |
Helps you practice designs before applying on actual nails. |
| 4 |
Layer Your Colors |
Gel Polish |
Apply multiple layers for depth and vibrancy. |
| 5 |
Clean Your Brushes Regularly |
Brush Cleaner |
Maintains brush quality and prevents color mixing. |
| 6 |
Use Nail Art Tape |
Nail Art Tape |
Helps create clean patterns and lines. |
| 7 |
Experiment with Nail Art Stencils |
Nail Art Stencils |
Adds intricate designs without artistic skill. |
| 8 |
Cure Properly Under UV/LED Light |
UV/LED Lamp |
Ensures polish is fully set for longevity. |
| 9 |
Finish with Top Coat |
Top Coat |
Seals design and adds shine and protection. |
| 10 |
Hydrate Your Cuticles |
Cuticle Oil |
Keeps nails and cuticles healthy and nourished. |
Mastering the Basics: Techniques for Perfect Lines and Shapes
Achieving perfect lines and shapes in nail art requires mastering some fundamental techniques. One of the essential tips is to ensure your nail surface is properly prepared. Start with a clean, smooth base by buffing the nails and applying a suitable primer. This not only gives you a better canvas to work on but also helps the liner gel polish adhere more effectively, resulting in crisp, defined lines.
When working with liner gel polish, use fine detail brushes to enhance precision. Dip the brush lightly into the polish and remove any excess to avoid clumping. Maintain a steady hand while applying the polish; if you’re not confident, practice on a nail wheel first. Moreover, consider using nail tape for straight edges—this can be a game changer for geometric designs. Patience is key; take your time to build layers if necessary, allowing each layer to cure before adding more details. With practice and these basic techniques, you'll be well on your way to creating stunning nail art that showcases your skill in drawing perfect lines and shapes.
Choosing the Right Colors and Combinations for Stunning Designs
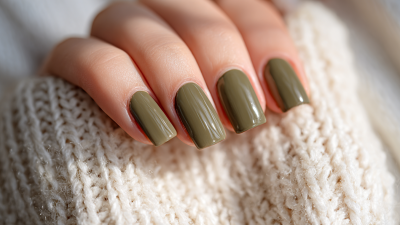
When it comes to creating stunning nail art designs with liner gel polish, choosing the right colors and combinations is crucial. The first step is to select a base color that complements your desired design; neutral tones can provide a perfect canvas for intricate patterns, while bold colors can make a statement. Consider the season or occasion as well—soft pastels are ideal for spring, while rich jewel tones work beautifully for fall.
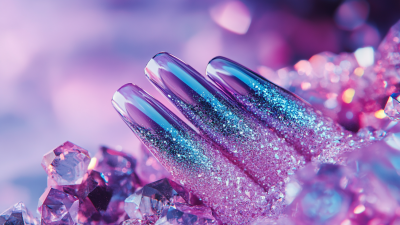
Once you have your base color, experimenting with complementary and contrasting shades can elevate your design. For example, pairing a pastel blue with a vibrant yellow can create a fresh, lively look, while a deep burgundy against gold accents can evoke elegance and sophistication. Don’t hesitate to incorporate metallics or glitters for added depth; these elements can enhance your nail art, making it visually striking. Ultimately, the key is to strike a balance between colors, allowing each element to shine while ensuring the overall design remains cohesive.
Maintenance Tips for Longevity of Liner Gel Polish Applications
Maintaining the longevity of liner gel polish applications is crucial for achieving stunning nail art designs that last. According to a report by the Nail Polish Institute, proper maintenance can extend the life of nail art by up to 30%. Here are some essential tips to keep in mind.
First, always apply a high-quality base coat before your liner gel polish. This not only enhances adhesion but also strengthens the nail surface. Regularly moisturizing your cuticles with specialized oils can prevent dryness and cracking around the nail area, which contributes to chipping. Furthermore, wear gloves when doing housework or using harsh chemicals; this simple step can significantly protect the integrity of your nail art.
Second, after applying your liner gel polish, it's crucial to seal your design with a top coat. This provides an added layer of protection against everyday wear and tear. Regular touch-ups will also keep your designs looking fresh. In a survey conducted by the International Nail Art Association, 75% of nail technicians recommend touch-ups every two weeks to maintain the vibrancy and durability of gel polish, ensuring that your nail art stays perfect longer.
Common Mistakes to Avoid for Nail Art Perfection
Perfectionism can be a daunting aspect of nail art, leading many enthusiasts to experience what is commonly referred to as "nail anxiety." This unease often creeps in at the nail salon, where the pressure to achieve flawless designs can stifle creativity. To avoid common mistakes that contribute to this anxiety, it is essential to embrace the learning process and accept that imperfections can add character to your nail art. Allowing yourself to experiment without the fear of judgment can result in more enjoyable and fulfilling nail design sessions.
Another key mistake to avoid is overthinking the nail art process. Many aspiring nail artists focus too much on intricate designs and, in doing so, overlook the fundamentals of proper technique. Ensuring a clean application of gel polish, using the right tools, and preparing the nails adequately can significantly enhance the final look. Remember, mastering the basics can provide a solid foundation for more advanced designs while preventing frustration and discouragement.