Ultimate Guide to DIY Nail Gel: Tips for Perfect Manicures at Home
In recent years, the world of at-home beauty treatments has seen a significant rise, with
DIY nail care becoming a popular trend among enthusiasts.
Central to this movement is the use of Nail Gel, a versatile product that offers long-lasting,
salon-quality results without the need for professional tools or expertise. As more people seek to achieve
perfect manicures in the comfort of their own homes, understanding the ins and outs of
Nail Gel application becomes essential. This ultimate guide will equip you
with valuable tips and techniques, covering everything from the preparation of your nails to the final
curing process, ensuring that your at-home manicure is not only beautiful but also durable. Whether
you're a novice or an experienced nail art lover, mastering Nail Gel can transform your manicure
experience and unleash your creativity.
Essential Tools You Need for DIY Nail Gel Applications
When embarking on your DIY nail gel journey, having the right tools is essential to achieve salon-quality results at home. Start with a UV/LED lamp, which is crucial for curing your gel polish. This not only ensures a long-lasting finish but also helps prevent smudges and imperfections. Pair your lamp with a quality base coat and topcoat designed for gel application to enhance the durability and shine of your manicure.
Another must-have tool is a good set of nail files and buffers. These tools allow you to shape your nails and create a smooth surface, which is critical before applying gel polish. Remember to gently buff the nail surface to help the gel adhere better. Additionally, a cuticle pusher and nippers are essential for maintaining a clean look and helping your gel application appear more professional.
For the actual polishing, invest in high-quality gel nail polish in various colors to express your style. When applying, use thin layers to ensure even curing and to avoid peeling. Don’t forget to keep a brush cleaner or rubbing alcohol handy for any cleanup needed during your DIY sessions. With these tools and tips, you’ll be well on your way to perfecting your at-home manicures!
Step-by-Step Guide to Preparing Your Nails for Gel Manicures
Preparing your nails for gel manicures is essential to ensure a long-lasting and flawless finish. Start by removing any old nail polish using a non-acetone remover, as acetone can dry out your nails and cuticles.
Once clean, gently push back your cuticles with a cuticle pusher, being careful not to damage the skin around your nails. This step not only creates a clean canvas for your gel polish but also promotes healthier nail growth.
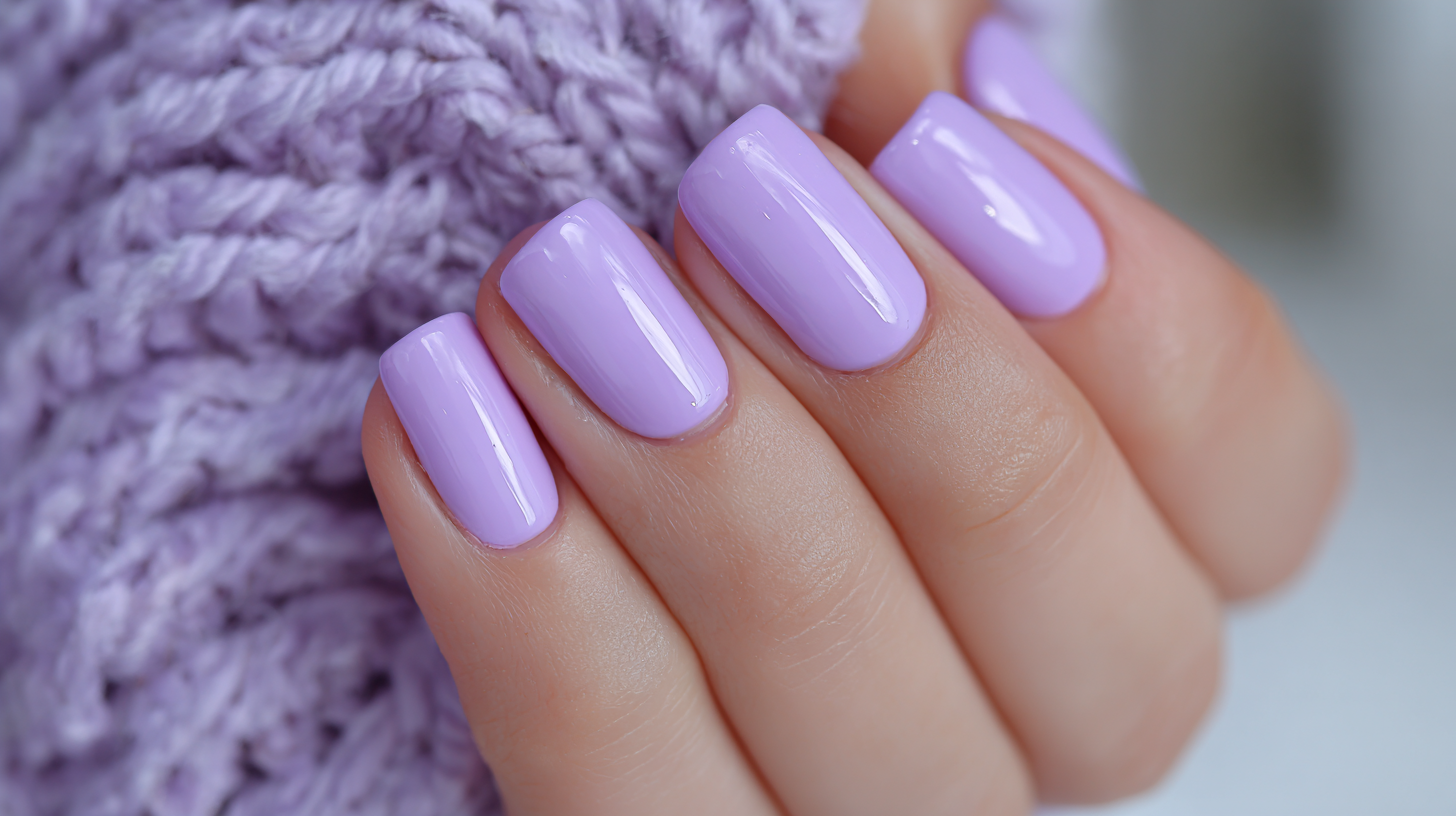
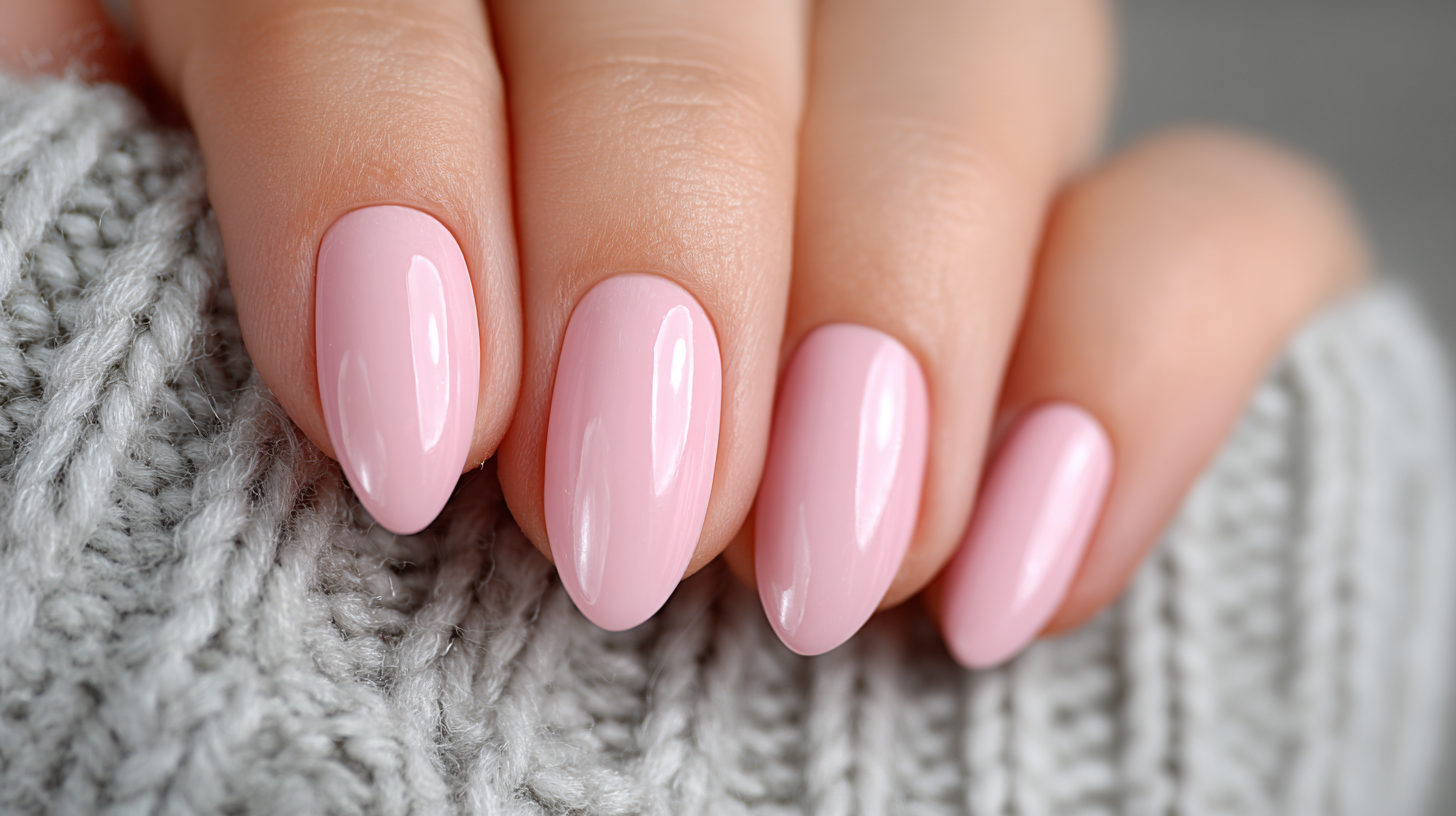
Next, file your nails to your desired shape, whether it be square, oval, or almond. It's important to use a gentle file to avoid splitting or breaking the nails. After shaping, buff the surface of each nail with a fine buffer to create a smooth texture for the gel to adhere properly. Finally, wash your hands thoroughly to remove any dust or debris, and apply a nail primer to help the gel polish stick better. Following these preparation steps will set you up for a perfect DIY gel manicure that looks salon-fresh.
Techniques for Applying Nail Gel Like a Pro at Home
Mastering the art of applying nail gel at home can transform your manicure routine, elevating it to a professional level. According to a recent industry report from Allied Market Research, the global nail salon market is projected to reach $66.96 billion by 2027, emphasizing the growing demand for high-quality at-home nail care products. This trend highlights the importance of learning effective techniques for applying nail gel like a pro.
One essential tip is to ensure proper nail preparation. Begin by cleaning and buffing your nails to remove any oils or residues that can hinder adhesion. A well-prepared nail surface is crucial, as studies show that proper preparation can extend the longevity of your manicure by up to 60%. Furthermore, applying a thin base coat not only enhances adhesion but also provides an even canvas for the color gel.
Another technique to consider is curing your gel layers correctly. Professionals recommend curing for the manufacturer's specified time in a UV or LED lamp, as insufficient curing can lead to chipping and peeling. Also, remember to use light, even strokes when applying the color gel, and allow each layer to cure completely before adding the next. This meticulous approach can significantly improve the finish and durability of your at-home gel manicures.
Ultimate Guide to DIY Nail Gel: Tips for Perfect Manicures at Home
| Technique |
Description |
Tips |
| Prep Your Nails |
Clean and shape nails thoroughly before applying gel. |
Use a gentle file to shape and buff the surface for better adhesion. |
| Base Coat Application |
Apply a thin layer of base coat gel to prevent staining. |
Cure it under a UV or LED lamp for the recommended time. |
| Color Gel Application |
Apply the color gel in thin layers for even color. |
Allow each layer to cure before applying the next. |
| Top Coat Finish |
Seal the design with a top coat for durability and shine. |
Remember to cure the top coat well to avoid chipping. |
| Clean Up |
Wipe off the sticky residue left after curing. |
Use a lint-free wipe and isopropyl alcohol for best results. |
| Maintenance |
Keep nails healthy and strong between applications. |
Apply cuticle oil daily to nourish your nails. |
Curing and Finishing: Achieving a Long-Lasting Shine
Curing and finishing are crucial steps in achieving a long-lasting shine for your DIY nail gel manicures. According to industry reports, improperly cured nail gel can lead to chipping and dullness, diminishing the overall appearance of your manicure. The ideal curing process involves using a UV or LED lamp, which can provide the necessary light exposure to harden the gel effectively. Studies from the Nail Manufacturers Council suggest that exposing gel polish to the right wavelength of light for the recommended duration significantly enhances not only the durability but also the shine of the nails.
To achieve a perfect finish, it's essential to apply a high-quality top coat. Look for top coats specifically formulated for gel finishes, as they often contain ingredients that enhance gloss and prolong wear. One insider tip is to seal the edges of your nails with the top coat; this simple technique helps prevent lifting and extends the life of your manicure.
Additionally, proper nail prep is foundational for a long-lasting finish. Ensure your nails are clean and free of oils before application. Buffing the surface lightly can also create a better bond for the gel polish. Remember, consistency in your application thickness across all nails can result in a more polished performance, which is an insight backed by a recent report from the Professional Beauty Association. Following these tips can elevate your at-home manicure experience, leaving you with salon-quality results.
DIY Nail Gel Curing Times and Shine Levels
This chart illustrates the shine levels achieved with different curing methods and times for DIY nail gels. Notably, UV and LED lights provide the highest shine at longer curing times, while air drying results in significantly lower shine.
Common Mistakes to Avoid During Your DIY Gel Manicure
When it comes to achieving a salon-quality gel manicure at home, many enthusiasts often stumble upon common mistakes that can compromise the overall finish. According to a report by the Professional Beauty Association, nearly 40% of people trying DIY gel manicures experience peeling or chipping within a week. One significant error is neglecting the preparation of the nail surface. Failing to properly file and buff the nails can result in poor adhesion of the gel, leading to premature wear.
To ensure a flawless finish, always start with thorough nail preparation. Clean the nail beds and remove any cuticle residues, as this can make a significant difference in how the gel adheres. Additionally, avoid applying gel too thickly; it's recommended to apply thin layers and cure them under the UV lamp to achieve a smoother finish without bubbles or uneven texture.
Another mistake to sidestep is not curing the gel for the appropriate amount of time. Research indicates that gel polish requires precise curing times to achieve optimal hardness. Ensure you’re following the manufacturer’s guidelines for both base coat and top coat. Lastly, remember to cleanse the nails with a gel cleanser after curing to eliminate any sticky residue, leaving your nails looking polished and professional.