How to Apply Gel Nail Polish for a Perfect Manicure at Home?
Applying gel nail polish can transform your at-home manicure. According to Lisa O'Brien, a renowned expert in the Gel Nail industry, "The right technique makes all the difference." Many people struggle with achieving a professional look. It often leads to uneven application or bubbling.
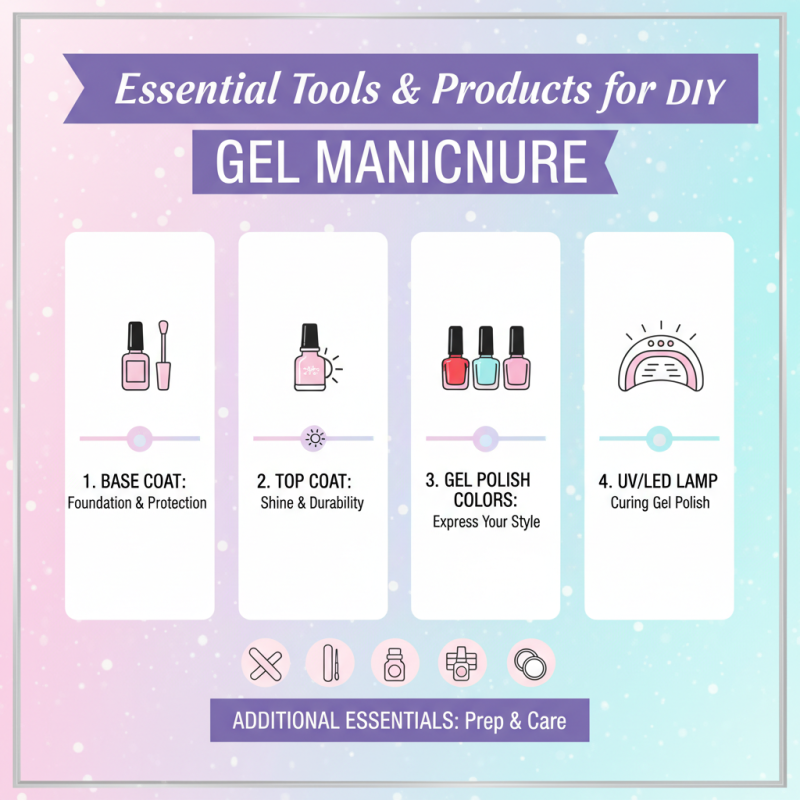
To start, ensure your nails are clean and dry. This step is crucial. Any residue may hinder the polish's adhesion. Next, applying a base coat is essential. It creates a smooth foundation for the gel colors. Use even strokes, but don’t worry about perfection at this stage.
While using gel nail polish, mistakes can happen. Your first application might not be flawless. For instance, you might notice streaking or smudging. These issues can be frustrating, but they are part of the learning process. Each session offers a chance to improve, and reflect on what worked and what didn’t. With practice, your gel nail application technique will enhance, leading to stunning results.
Understanding Gel Nail Polish and Its Benefits
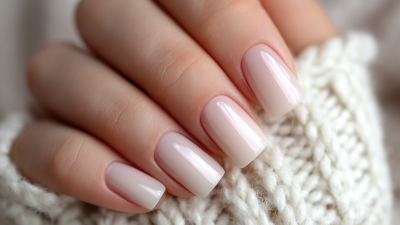
Gel nail polish has gained popularity for its durability and glossy finish. Research indicates that 30% of users prefer gel polish due to its long-lasting wear. This formula typically lasts two to three weeks without chipping. The secret lies in its unique composition, which includes a combination of nitrocellulose and resin. This blend ensures a hard, protective coating that can withstand daily wear and tear.
One major benefit of gel nail polish is its quick drying time. Unlike traditional polish, which can take up to an hour to fully dry, gel polish cures under UV or LED lamps in mere minutes. However, it’s essential to take precautions. Overexposure to UV light may lead to skin damage. It's advisable to use sunscreen on your hands before curing. Another aspect to consider is the removal process. Soaking gel polish off can weaken your nails, leading to thinning or brittleness if done improperly.
Many users love the vibrant color options available. In fact, a survey revealed that 70% of people switch colors monthly, eager to match their nails to their outfits or moods. Yet, some might find it challenging to achieve that perfect finish, especially without proper tools. Uneven application can result in an unsatisfactory look. It’s easy to feel frustrated when your manicure doesn't meet expectations. Proper preparation and practice can elevate your technique, making a noticeable difference.
Benefits of Gel Nail Polish
Step-by-Step Preparation for Gel Nail Application
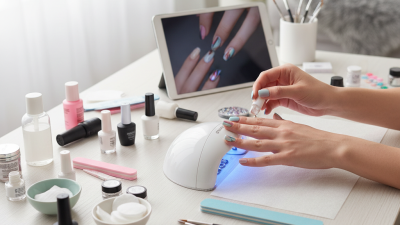
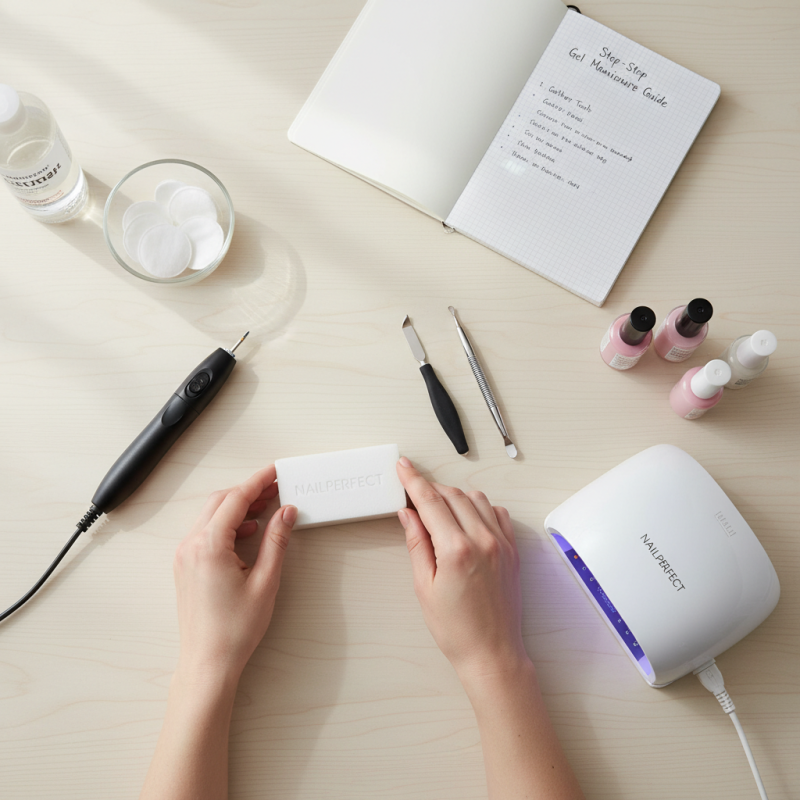
Achieving a perfect gel manicure at home requires careful preparation. First, gather all necessary tools: a nail file, buffer, cuticle pusher, and a UV or LED lamp. According to professional reports, about 30% of at-home gel applications fail due to improper preparation. Taking time to prep your nails can significantly increase success rates.
Begin by trimming and shaping your nails. Ensure they are clean and dry. Push back your cuticles gently. This step is often rushed but crucial. A clean nail bed helps the polish adhere better. Buffing the surface lightly can also improve adherence and give a smooth finish. Remember, skipping this can lead to chipping and peeling.
Tip: Use a dehydrator before applying base coat. This helps remove oils that can interfere with adhesion. After application, flash cure each layer for about 10-30 seconds under the lamp. Be aware that curing times vary between lamps, which can lead to inconsistencies. Keep a close eye on the curing process to avoid mishaps. Remember, even experienced artists can have off days. Embrace your learning journey!
Techniques for Applying Gel Nail Polish Evenly
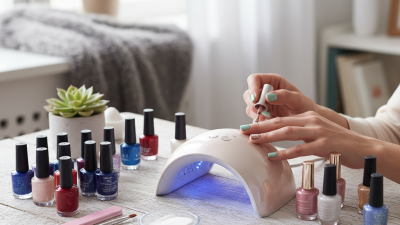
Applying gel nail polish can seem daunting, but with the right techniques, you can achieve a flawless look at home. Start by preparing your nails. Gently push back your cuticles and file your nails to your preferred shape. Clean any residue with alcohol or nail polish remover. This step is crucial. Any leftover oils can affect the polish application.
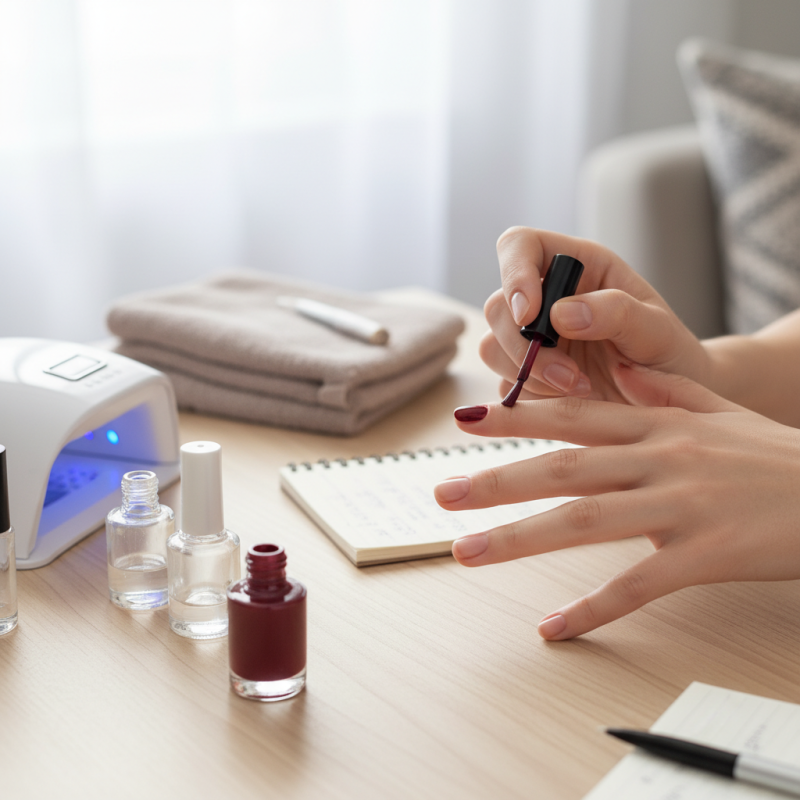
When applying the gel polish, work in thin layers. Begin with a base coat, making sure to cover the entire nail without flooding the cuticle area. Aim for even strokes, but don’t be discouraged if it gets messy. If polish seeps onto your skin, just clean it up quickly with a cotton swab dipped in remover. Remember, the first coat doesn’t need to be perfect. You can always fix any imperfections with subsequent layers.
After the base, proceed with your color coat. Apply two thin layers, curing each under a lamp. Sometimes, the polish can bubble or streak. If this happens, take a moment to reflect on your technique. Are you brushing too quickly? Are your strokes consistent? Pay attention to application speed and pressure. Small adjustments can lead to a much smoother finish. Finally, seal everything with a top coat and give your nails one last cure.
How to Apply Gel Nail Polish for a Perfect Manicure at Home?
| Step |
Description |
Tips |
| 1 |
Prepare your nails by removing any old polish and shaping them. |
Make sure your nails are clean and dry before starting. |
| 2 |
Apply a base coat to protect your nails and help the gel adhere. |
Use a thin layer and cure under the UV/LED lamp. |
| 3 |
Apply a thin layer of gel nail polish. |
Avoid touching the cuticles and sides; cure after application. |
| 4 |
Repeat the gel polish application for a second coat for better opacity. |
Cure after each layer. |
| 5 |
Finish with a top coat for shine and durability. |
Seal the edges of your nails to prevent chipping. |
| 6 |
Clean any sticky residue with a cleanser. |
Use lint-free wipes for a clean finish. |
Curing and Finishing Your Gel Nail Manicure
Curing your gel nail polish properly is crucial for a long-lasting manicure. After applying the base coat, you should cure it under a UV or LED lamp. This process might take about 30 seconds to two minutes. The light hardens the gel, setting the foundation for vibrant color. Ensure you don’t skip this step; an uncured base can result in peeling and chipping later on.
Once the color coat is applied, curing again follows. Each layer requires a similar amount of time under the lamp. Pay attention to the polish’s thickness. Thick layers can lead to uneven curing. If you notice any uncured polish, you may end up with flaws in your manicure. Use a thin coat for optimal results.
After the final cure, wipe the nails with a gel cleanser. This removes the sticky residue, revealing a beautiful, shiny finish. Sometimes, though, the outcome may not be perfect. You might spot minor bubbles or uneven patches. Take time to reflect on your technique for a flawless finish next time.